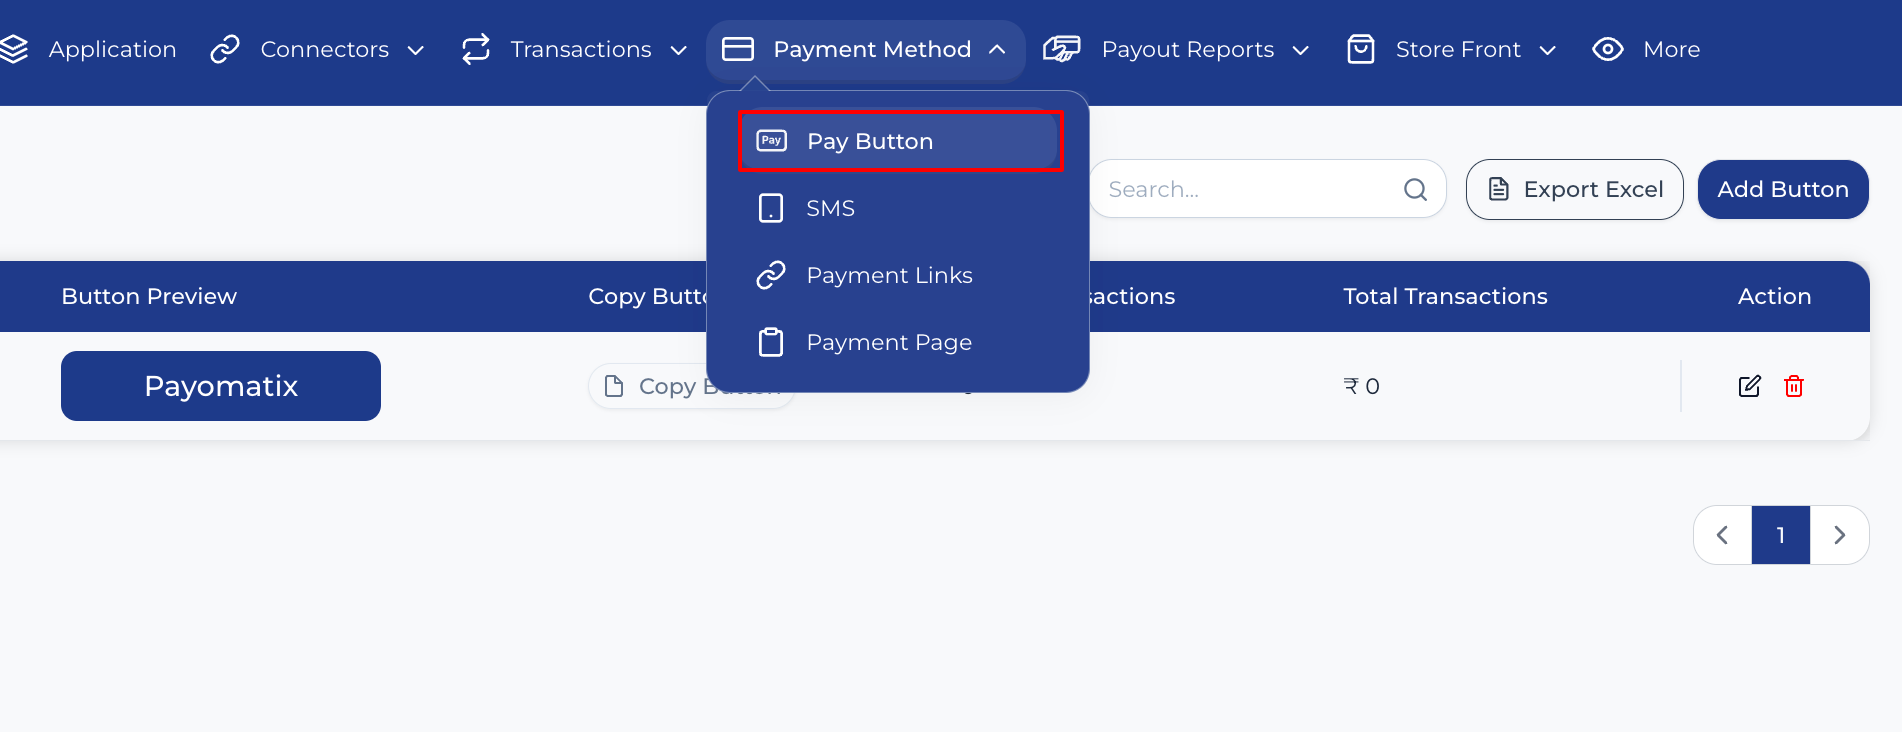
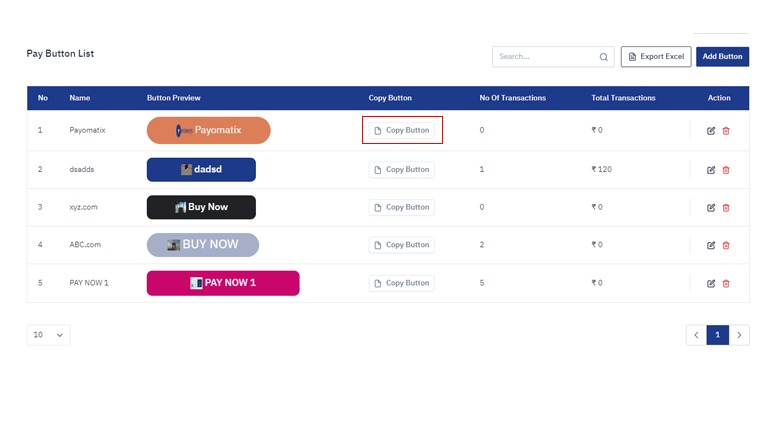
Firstly, navigate to the Pay Button page, as shown.
Next, click on "Add Button" to create a new pay button.
CUSTOMIZATION
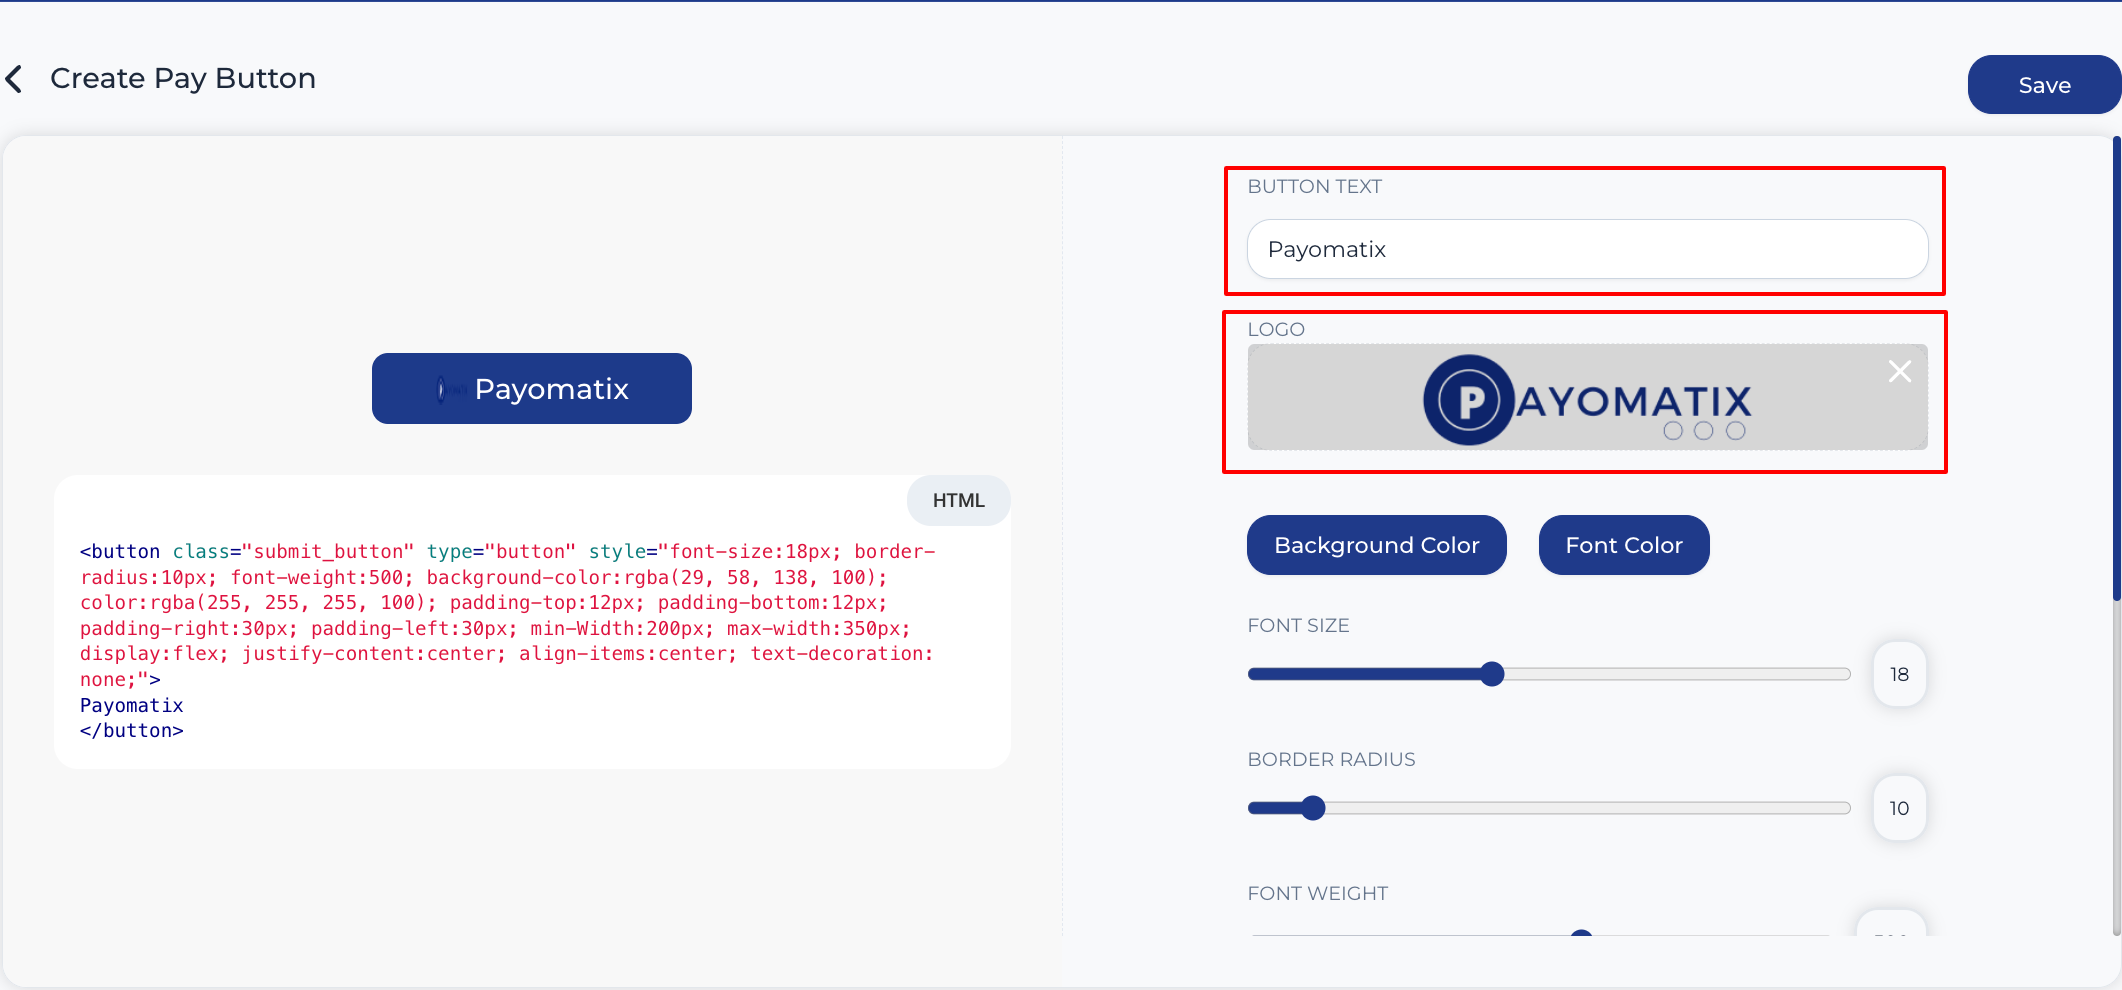
STEP 1: CHANGE BUTTON TEXT & LOGO
To change the text of the pay button, you need to modify the "BUTTON TEXT" field. Additionally, you can include a logo alongside your button text. To accomplish this, select any image from the "LOGO" section as demonstrated in the image.
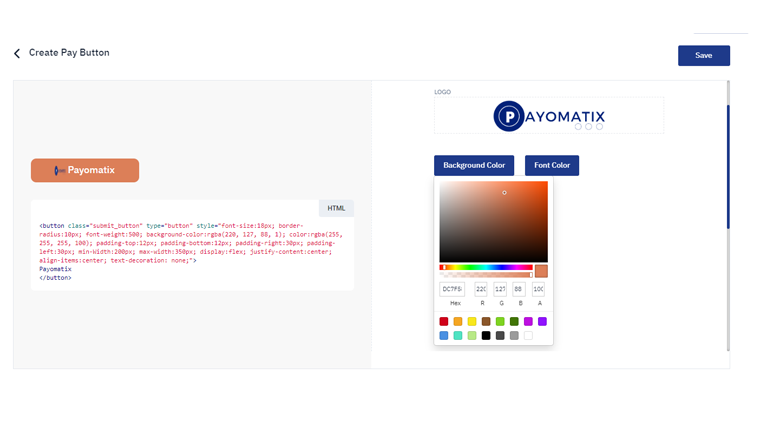
STEP 2: CHANGE BACKGROUND & FONT COLOR
To change the background of the button, you need to select a color from the "Background Color" field. Similarly, select a color from the "Font Color" to change the font color of the buttons, as shown.
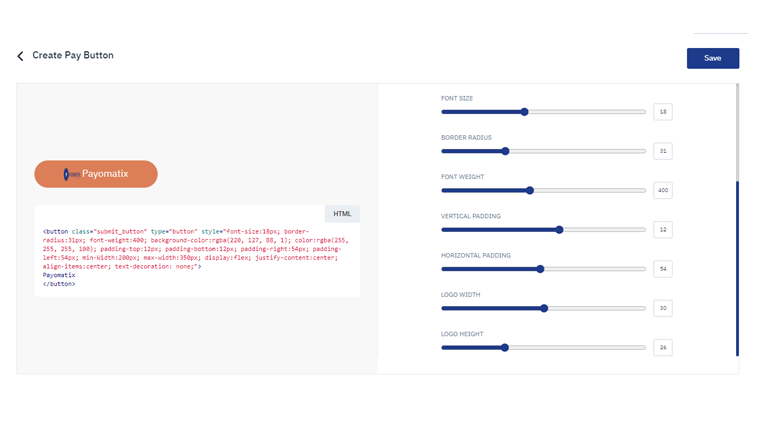
STEP 3: CHANGE OTHER STYLES
In addition, you can modify lots of styles in the button, such as font size, border radius, font weight, padding, and logo height and width. To do that, you need to move the sliders accordingly.
INTEGRATION
After creating a button, all the available buttons are listed below.
Now, click on the "Copy Button" to obtain the specific button you want to add to your store as a payment button.
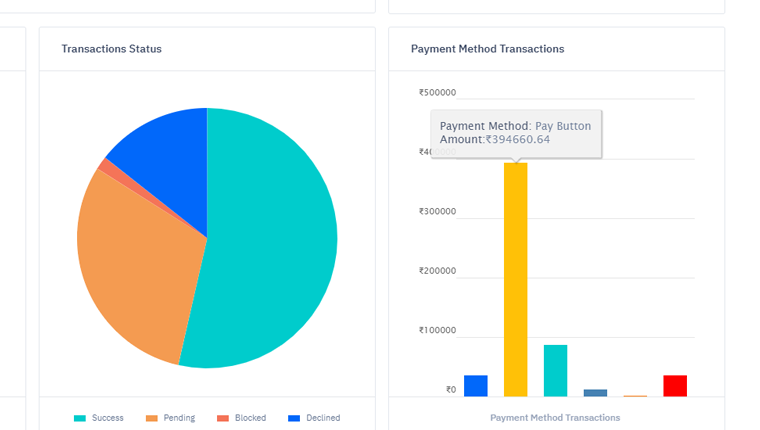
You can also check the detailed chart report of transactions for the integrated pay button by visiting the Dashboard page, as shown below.
STEP 1: ADD BUTTON
Place the copied button in your store wherever you want to add the payment button. You can position the button anywhere within the body tag in your HTML.
STEP 2: ADD SCRIPTS & CREDENTIALS
Once you have added the button, you need to include the Scripts and Credentials in the same order as indicated above. Please replace the credentials with your own.
You can obtain the Scripts and Credentials by clicking on the buttons below.